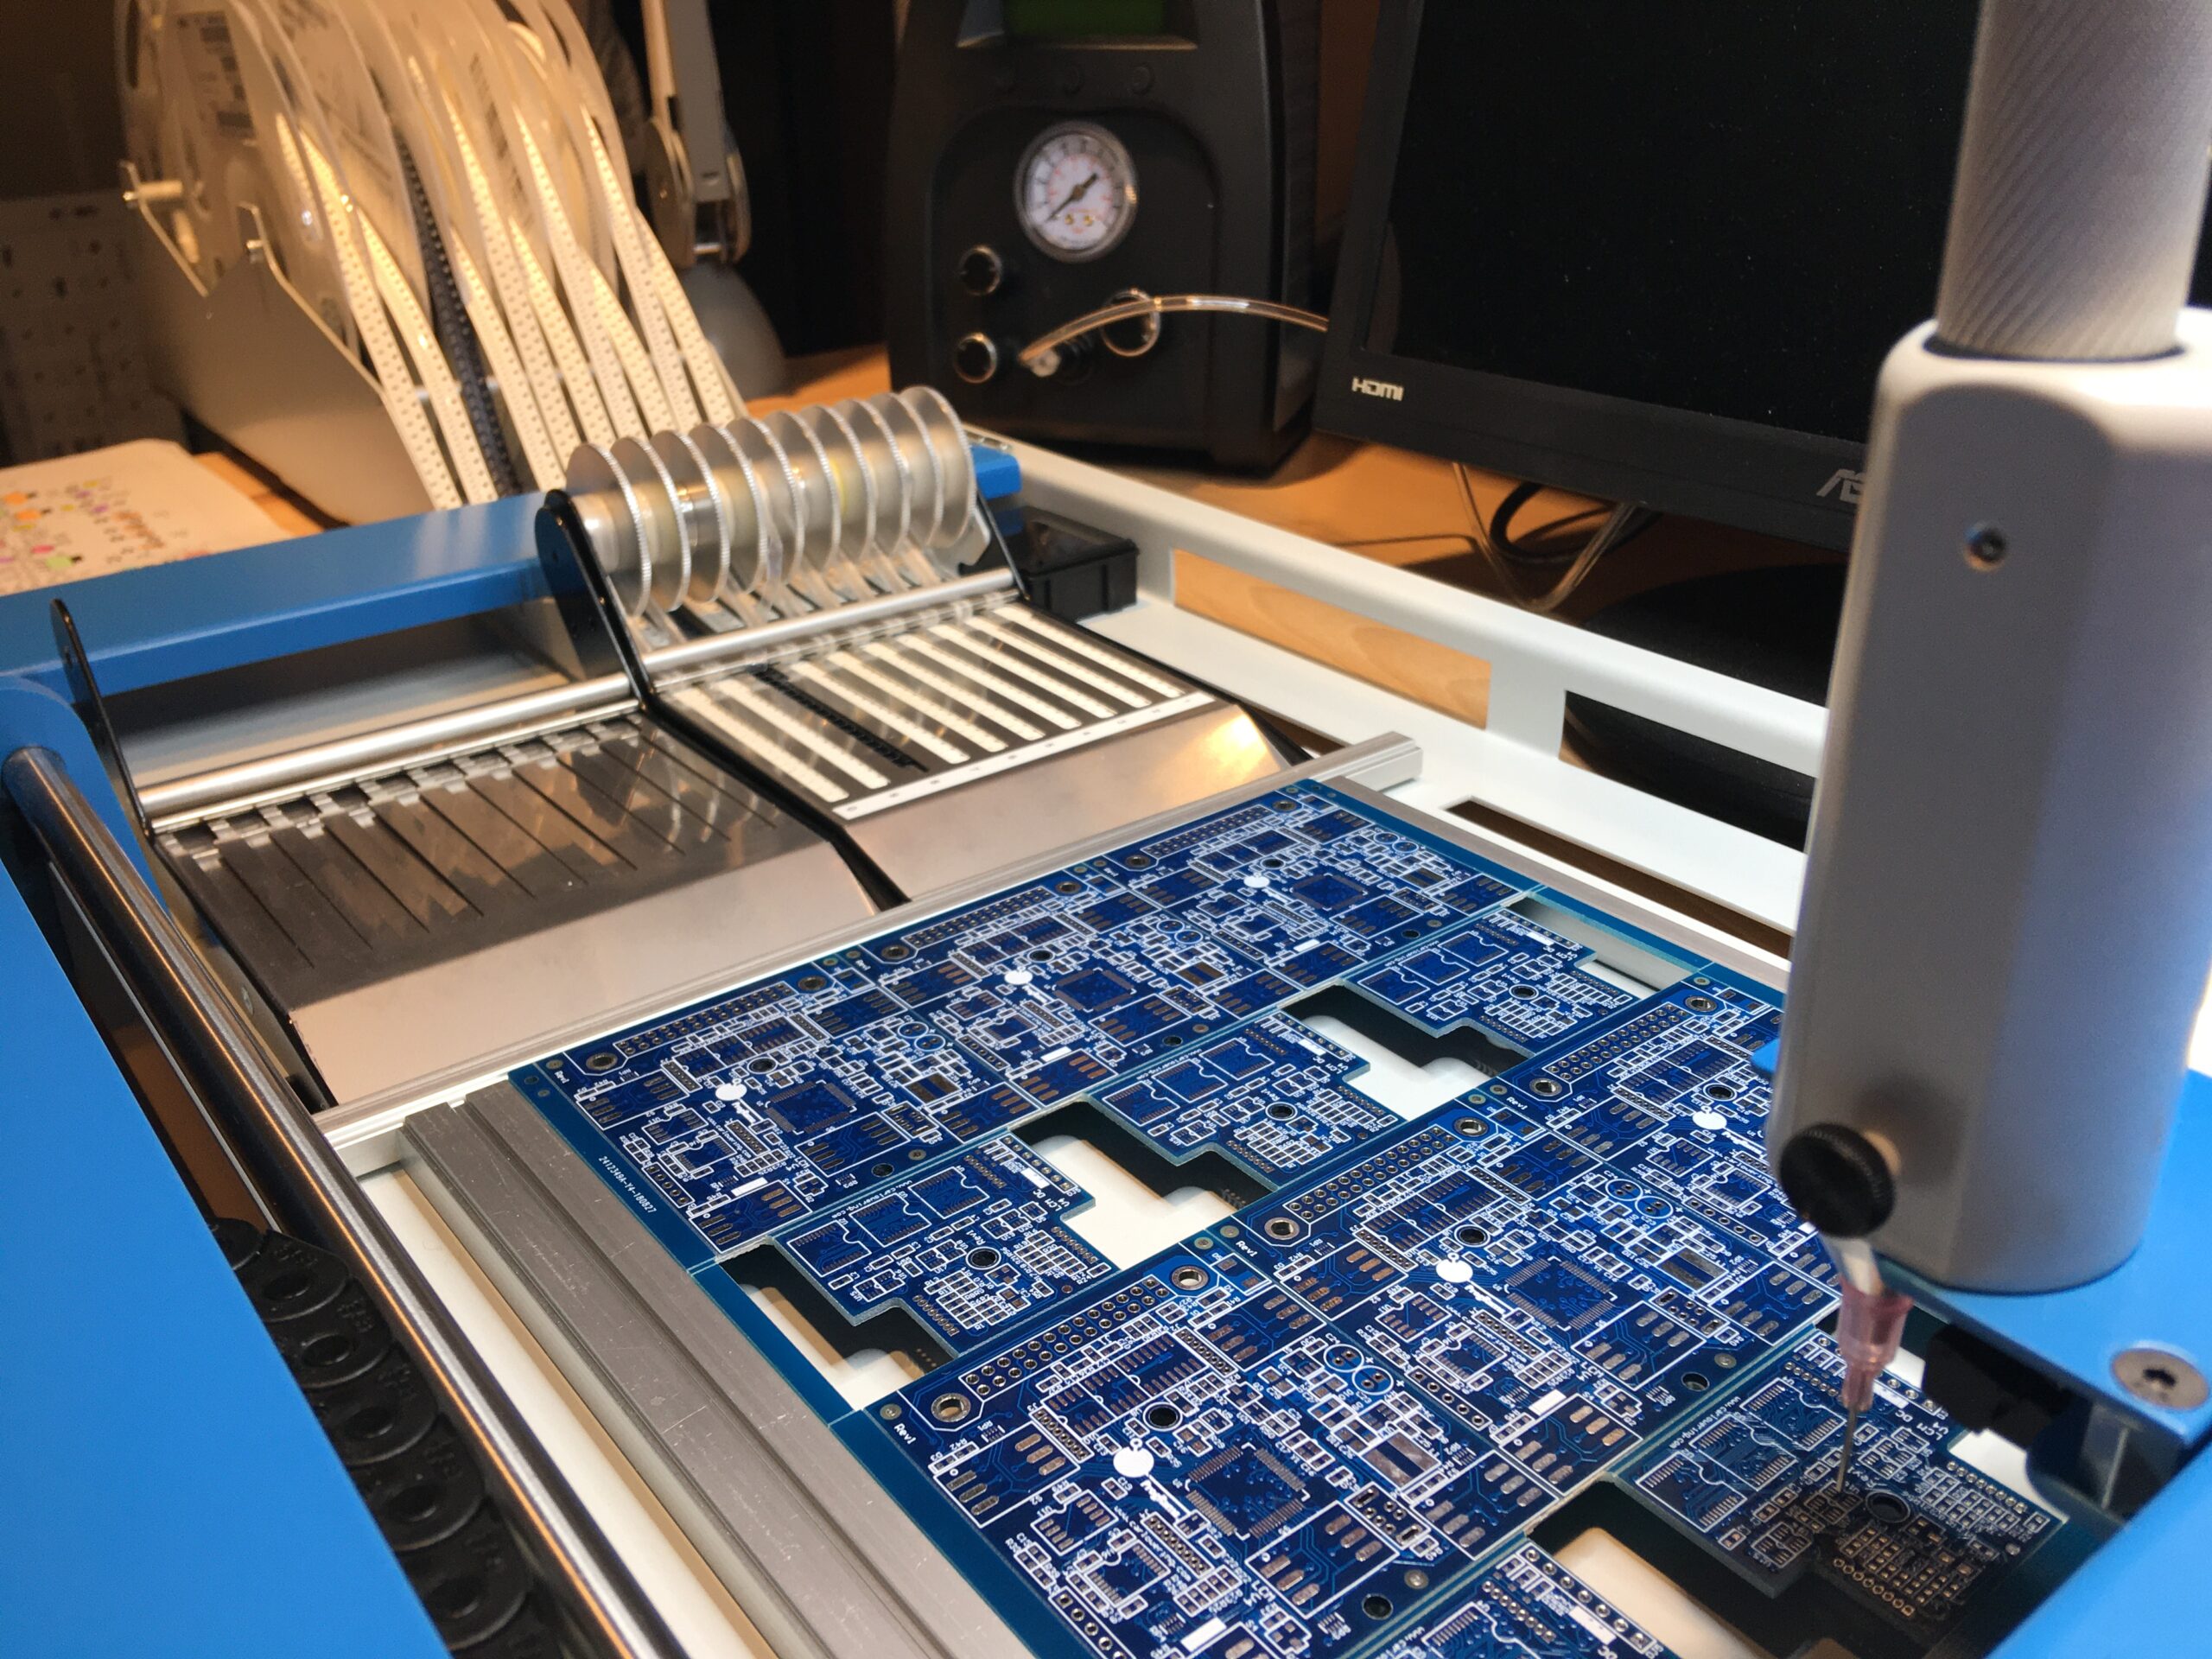
If you need a quick estimate how much it costs to build an SMD assembly prototype, you need to roughly estimate the hours it takes to execute every step of assembly. Here we are offering times obtained by averaging our last 10 jobs. Clearly, this is not a precise science, because the PCB complexity varies. Yet, to our surprise, the hours do not differ that much. Mind, that all our jobs fit these categories:
- 4-layer boards
- 80% SMD parts
- boards smaller than 200 mm x 400 mm
- single side component assembly
- embedded design with one microprocessor
- assembly quantity 10 boards or less
The hand-assembly estimator table
| Task | Required time [hrs] | Note |
|---|---|---|
| Prepare assembly instructions | 3 | Collect full BOM, print PCB assembly |
| Gather components | 3 | Take assembly kit from inventory |
| Prepare stencil printing | 1 | Install and adjust frameless stencil and PCB holder |
| Place components, 5 boards | 5 | Use 1 hour per PCB as a good average |
| Reflow oven | 0.5 | All boards are reflowed together |
| Visual inspection | 1 | Time includes likely rework |
| Cleaning, packing and components restocking | 1 | At the end the workspace must look like we were never there 🙂 |
Use a common sense when utilizing this table. One can see that by adding the time together and dividing it by 5 PCBs, we get a time estimate of about 3 hours per board. If you charge 60 Eur/hour, that is a labor cost of 180 Eur/board.
Prepare the assembly instructions
We like to use our Kinder Garden method, please see our other post.
Gather all components
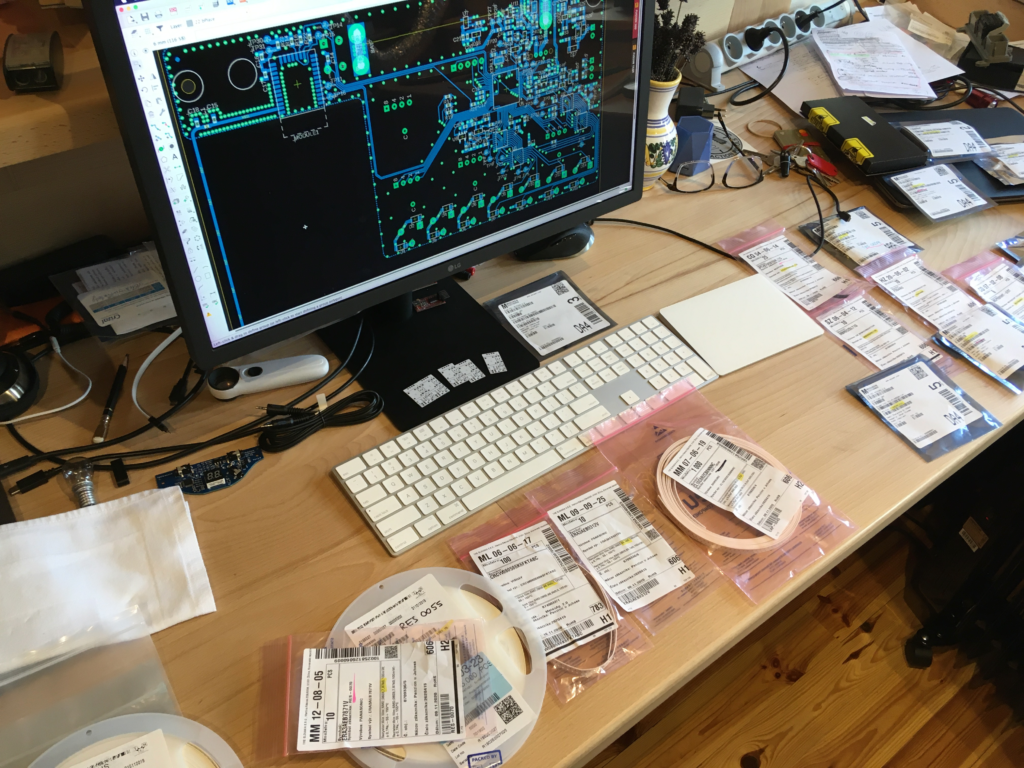
Do not underestimate this step. It is very time consuming. It is almost impossible to do without a help of a proper software. We use a simple but functional cloud based Parts in Place.
Stencil printing
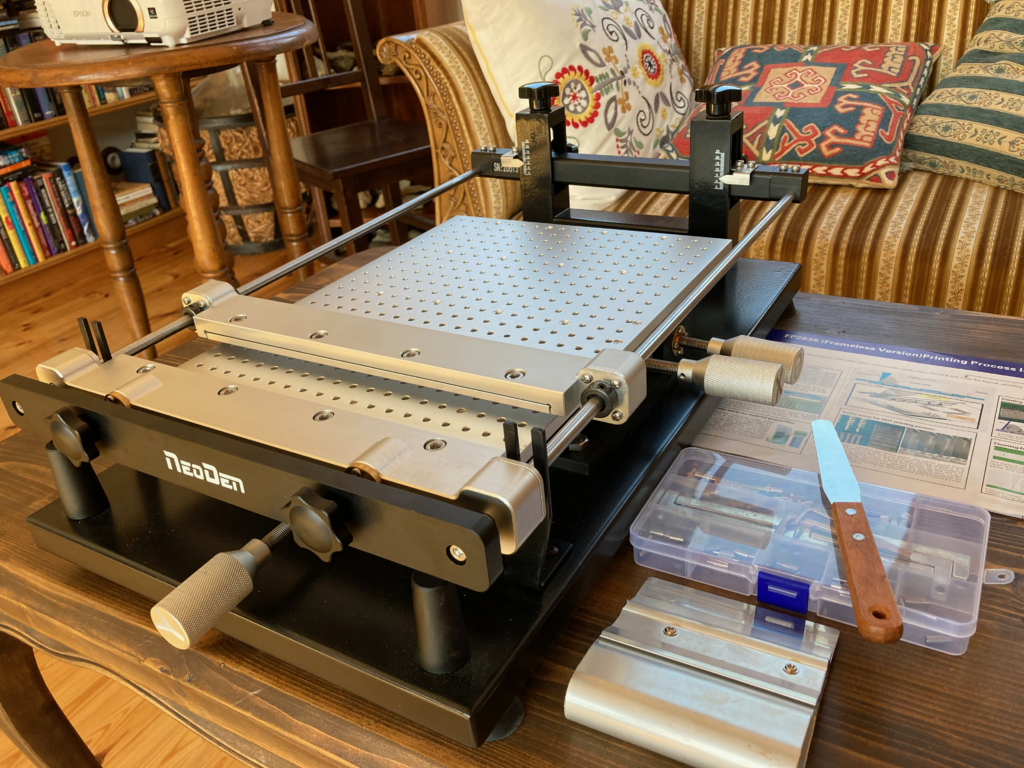
All our jobs are hand-stenciled using frameless stainless steel stencils. Framed stencils are only a bit more expensive, but they take much more space storing. Frameless stencil is like one sheet of paper, and the framed stencil is like three large books.
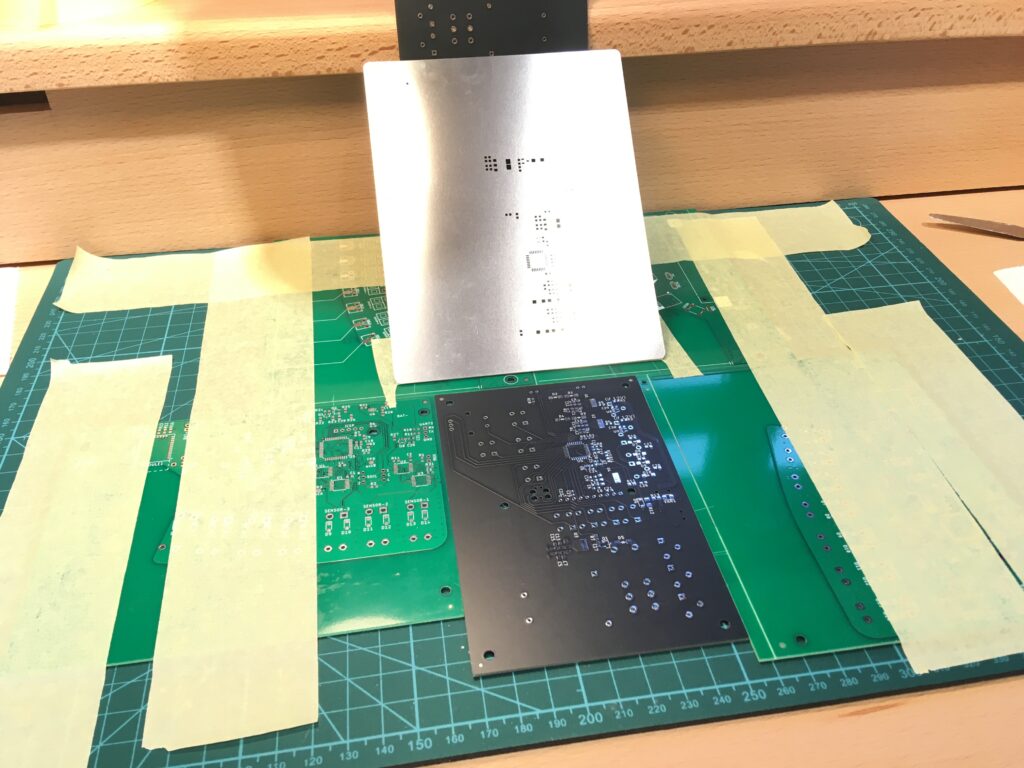
We used to simply tape the stencil to our table. Nothing wrong with that. It is sometimes quicker than our hand printing machine. One problem with taping is the boards are less consistently printed, which can be a problem with 0402 and fine pitch components.
Placing the components
For prototypes (up to 10 pieces) we do not use any CNC pick-and-place machines. By the time we would program the machine and feed the required components, we are already finished using a hand assembly.
We originally just used tweezers and steady hands, but quickly learned there is a better way. Now we use a manual pick-and-place manipulator with a vision system, made by Slovak company ELPRO. (While placing components with it, one song by Kraftwerk comes to mind: I am the robot…)
Reflow oven
Once several boards components are placed, they go to T-937 programmable desktop reflow oven. The reflow is quite fast, it takes about 10 minutes.
We used to use an inexpensive preheat plate. Nothing wrong with that. With the reflow oven we have much more consistent results.
Visual inspection
With prototypes, one must more carefully inspect every board. Often there is a need to rework something, often requiring to have various tools and gadgets.
Buying a quality magnifier lamp is a worthy investment. Good ones are not cheap (ours was 400 Eur), but they allow to work under the magnifier and have a wide visibility. We also use jewelers head vizor magnifier, hot air pencil by Metcal and many other small tools.
Remember to slowly scan the whole board while continuously tilt the board back and forth to avoid glare. Check every component from every angle, on every board. Rework any problems using appropriate tools, no shortcuts!
